Chapter 4 Presentations
For documents, the basic units are often sections. For presentations, the basic units are slides. A section in the Markdown source document often indicates a new slide in the presentation formats. In this chapter, we introduce the built-in presentation formats in the rmarkdown package.
Section 4.1 ioslides presentation
To create an ioslides presentation from R Markdown, you specify the
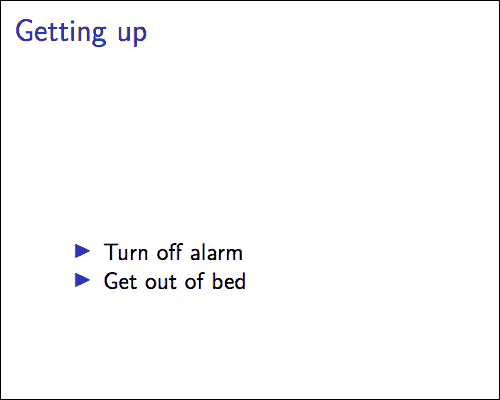
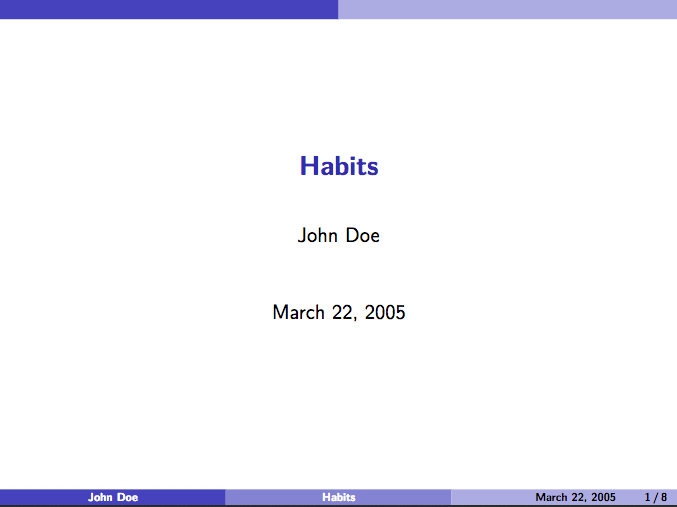
ioslides_presentation output format in the YAML metadata of your document. You can create a slide show broken up into sections by using the # and ## heading tags (you can also create a new slide without a header using a horizontal rule (---). For example here is a simple slide show (see Figure 4.1 for two sample slides):
---
title: "Habits"
author: John Doe
date: March 22, 2005
output: ioslides_presentation
---

# In the morning

## Getting up

- Turn off alarm
- Get out of bed

## Breakfast

- Eat eggs
- Drink coffee

# In the evening

## Dinner

- Eat spaghetti
- Drink wine

---

```{r, cars, fig.cap="A scatterplot.", echo=FALSE}
plot(cars)
```

## Going to sleep

- Get in bed
- Count sheep
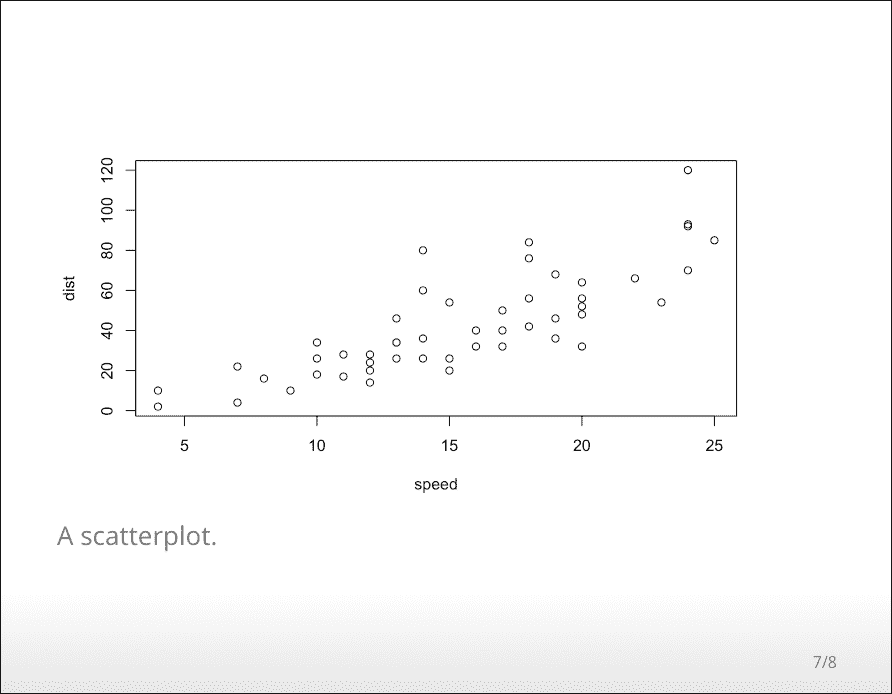
Two sample slides in an ioslides presentation.
You can add a subtitle to a slide or section by including text after the pipe (
|) character. For example:
## Getting up | What I like to do first thing
Subsection 4.1.1 Display modes
The following single character keyboard shortcuts enable alternate display modes:
-
'f': enable fullscreen mode -
'w': toggle widescreen mode -
'o': enable overview mode -
'h': enable code highlight mode -
'p': show presenter notes
Pressing
Esc exits all of these modes. See the sections below on Code Highlighting and Presenter Mode for additional detail on those modes.
Subsection 4.1.2 Incremental bullets
You can render bullets incrementally by adding the
incremental option:
---
output:
  ioslides_presentation:
    incremental: true
---
If you want to render bullets incrementally for some slides but not others you can (ab)use this syntax for blockquotes:
> - Eat eggs
> - Drink coffee
Subsection 4.1.3 Visual appearance
Subsubsection 4.1.3.1 Presentation size
You can display the presentation using a wider form factor using the
widescreen option. You can specify that smaller text be used with the smaller option. For example:
---
output:
  ioslides_presentation:
    widescreen: true
    smaller: true
---
You can also enable the
smaller option on a slide-by-slide basis by adding the .smaller attribute to the slide header:
## Getting up {.smaller}
Subsubsection 4.1.3.2 Transition speed
You can customize the speed of slide transitions using
transition option. This can be "default", "slower", "faster", or a numeric value with a number of seconds (e.g., 0.5) . For example:
---
output:
  ioslides_presentation:
    transition: slower
---
Subsubsection 4.1.3.3 Build slides
Slides can also have a
.build attribute that indicate that their content should be displayed incrementally. For example:
## Getting up {.build}
Slide attributes can be combined if you need to specify more than one. For example:
## Getting up {.smaller .build}
Subsubsection 4.1.3.4 Background images
You can specify a background image for a slide using the attribute
data-background, and use other attributes including data-background-size, data-background-position, and data-background-repeat to tweak the style of the image. You need to be familiar with CSS to fully understand these four attributes, and they correspond to the CSS properties background, background-size, background-position, and background-repeat, respectively. For example:
## Getting up {data-background=foo.png data-background-size=cover}
Subsubsection 4.1.3.5 Custom CSS
You can add your own CSS to an ioslides presentation using the
css option:
---
output:
  ioslides_presentation:
    css: styles.css
---
You can also target specific slides or classes of slides with custom CSS by adding IDs or classes to the slides headers within your document. For example the following slide header:
## Future Steps {#future-steps .emphasized}
Would enable you to apply CSS to all of its content using either of the following CSS selectors:
#future-steps {
  color: blue;
}

.emphasized {
  font-size: 1.2em;
}
Subsection 4.1.4 Code highlighting
It is possible to select subsets of code for additional emphasis by adding a special "highlight" comment around the code. For example:
### <b>
x <- 10
y <- x * 2
### </b>
The highlighted region will be displayed with a bold font. When you want to help the audience focus exclusively on the highlighted region press the
h key and the rest of the code will fade away.
Subsection 4.1.5 Adding a logo
You can add a logo to the presentation using the
logo option (by default, the logo will be displayed in a 85x85 pixel square). For example:
---
output:
  ioslides_presentation:
    logo: logo.png
---
The logo graphic will be rescaled to 85x85 (if necessary) and added to the title slide. A smaller icon version of the logo will be included in the bottom-left footer of each slide.
The logo on the title page and the rectangular element containing it can be customised with CSS. For example:
.gdbar img {
  width: 300px !important;
  height: 150px !important;
  margin: 8px 8px;
}

.gdbar {
  width: 400px !important;
  height: 170px !important;
}
These selectors are to be placed in the CSS text file.
Similarly, the logo in the footer of each slide can be resized to any desired size. For example:
slides > slide:not(.nobackground):before {
  width: 150px;
  height: 75px;
  background-size: 150px 75px;
}
This will make the footer logo 150 by 75 pixels in size.
Subsection 4.1.6 Tables
The ioslides template has an attractive default style for tables so you should not hesitate to add tables for presenting more complex sets of information. Pandoc Markdown supports several syntaxes for defining tables, which are described in the Pandoc Manual.
Subsection 4.1.7 Advanced layout
You can center content on a slide by adding the
.flexbox and .vcenter attributes to the slide title. For example:
## Dinner {.flexbox .vcenter}
<div class="centered">
This text is centered.
</div>
You can do a two-column layout using the
columns-2 class. For example:
<div class="columns-2">

- Bullet 1
- Bullet 2
- Bullet 3
</div>
Note that content will flow across the columns so if you want to have an image on one side and text on the other you should make sure that the image has sufficient height to force the text to the other side of the slide.
Subsection 4.1.8 Text color
You can color content using base color classes
red, blue, green, yellow, and gray (or variations of them, e.g., red2, red3, blue2, blue3, etc.). For example:
<div class="red2">
This text is red
</div>
Subsection 4.1.9 Presenter mode
A separate presenter window can also be opened (ideal for when you are presenting on one screen but have another screen that is private to you). The window stays in sync with the main presentation window and also shows presenter notes and a thumbnail of the next slide. To enable presenter mode add
?presentme=true to the URL of the presentation. For example:
my-presentation.html?presentme=true
The presenter mode window will open and will always re-open with the presentation until it is disabled with:
my-presentation.html?presentme=false
To add presenter notes to a slide, you include it within a "notes"
div. For example:
<div class="notes">
This is my *note*.

- It can contain markdown
- like this list
</div>
Subsection 4.1.10 Printing and PDF output
You can print an ioslides presentation from within browsers that have good support for print CSS (as of this writing, Google Chrome has the best support). Printing maintains most of the visual styles of the HTML version of the presentation.
To create a PDF version of a presentation, you can use the menu
Print to PDF from Google Chrome. Alternatively, you can use the function pagedown::chrome_print() from the pagedown package [21], which calls Chrome to print an Rmd or HTML file to PDF.
Subsection 4.1.11 Custom templates
You can replace the underlying Pandoc template using the
template option:
---
title: "Habits"
output:
  ioslides_presentation:
    template: quarterly-report.html
---
However, please note that the level of customization that can be achieved is limited compared to the templates of other output formats, because the slides are generated by custom formatting written in Lua, and as such the template used must include the string
RENDERED_SLIDES as can be found in the default template file with the path rmarkdown:::rmarkdown_system_file("rmd/ioslides/default.html").
Subsection 4.1.12 Other features
Refer to Section 3.1 for the documentation of other features of ioslides presentations, including figure options (Subsection 3.1.5), MathJax equations (Subsection 3.1.8), data frame printing (Subsection 3.1.6), Markdown extensions (Subsubsection 3.1.10.4), keeping Markdown (Subsubsection 3.1.10.1), document dependencies (Subsection 3.1.9), header and before/after body inclusions (Subsubsection 3.1.10.2), Pandoc arguments (Subsubsection 3.1.10.5), and shared options (Subsection 3.1.11).
Section 4.2 Slidy presentation
To create a Slidy presentation from R Markdown, you specify the
slidy_presentation output format in the YAML metadata of your document. You can create a slide show broken up into sections by using the ## heading tag (you can also create a new slide without a header using a horizontal rule (---). For example, here is a simple slide show (see Figure 4.2 for two sample slides):
---
title: "Habits"
author: John Doe
date: March 22, 2005
output: slidy_presentation
---

# In the morning

## Getting up

- Turn off alarm
- Get out of bed

## Breakfast

- Eat eggs
- Drink coffee

# In the evening

## Dinner

- Eat spaghetti
- Drink wine

---

```{r, cars, fig.cap="A scatterplot.", echo=FALSE}
plot(cars)
```

## Going to sleep

- Get in bed
- Count sheep

Two sample slides in a Slidy presentation.
Subsection 4.2.1 Display modes
The following single character keyboard shortcuts enable alternate display modes:
-
'F': Toggles the display of the footer. -
'A': Toggles display of current vs all slides (useful for printing handouts). -
'S': Make fonts smaller. -
'B': Make fonts larger .
Subsection 4.2.2 Text size
You can use the
font_adjustment option to increase or decrease the default font size (e.g., -1 or +1) for the entire presentation. For example:
---
output:
  slidy_presentation:
    font_adjustment: -1
---
If you want to decrease the text size on an individual slide you can use the
.smaller slide attribute. For example:
## Getting up {.smaller}
If you want to increase the text size on an individual slide you can use the
.bigger slide attribute. For example:
## Getting up {.bigger}
You can also manually adjust the font size during the presentation using the
'S' (smaller) and 'B' (bigger) keys.
Subsection 4.2.3 Footer elements
You can add a countdown timer to the footer of your slides using the
duration option (duration is specified in minutes). For example:
---
output:
  slidy_presentation:
    duration: 45
---
You can also add custom footer text (e.g., organization name and/or copyright) using the
footer option. For example:
---
output:
  slidy_presentation:
    footer: "Copyright (c) 2014, RStudio"
---
Subsection 4.2.4 Other features
Refer to Section 3.1 for the documentation of other features of Slidy presentations, including figure options (Subsection 3.1.5), appearance and style (Subsection 4.1.3), MathJax equations (Subsection 3.1.8), data frame printing (Subsection 3.1.6), Markdown extensions (Subsubsection 3.1.10.4), keeping Markdown (Subsubsection 3.1.10.1), document dependencies (Subsection 3.1.9), header and before/after body inclusions (Subsubsection 3.1.10.2), custom templates (Subsubsection 3.1.10.3), Pandoc arguments (Subsubsection 3.1.10.5), and shared options (Subsection 3.1.11).
Slidy presentations have several features in common with ioslides presentations in Section 4.1. For incremental bullets, see Subsection 4.1.2. For custom CSS, see Subsubsection 4.1.3.5. For printing Slidy slides to PDF, see Subsection 4.1.10.
Section 4.3 Beamer presentation
To create a Beamer presentation from R Markdown, you specify the
beamer_presentation output format in the YAML metadata of your document. You can create a slide show broken up into sections by using the # and ## heading tags (you can also create a new slide without a header using a horizontal rule (---). For example, here is a simple slide show (see Figure 4.3 for two sample slides):
---
title: "Habits"
author: John Doe
date: March 22, 2005
output: beamer_presentation
---

# In the morning

## Getting up

- Turn off alarm
- Get out of bed

## Breakfast

- Eat eggs
- Drink coffee

# In the evening

## Dinner

- Eat spaghetti
- Drink wine

---

```{r, cars, fig.cap="A scatterplot.", echo=FALSE}
plot(cars)
```

## Going to sleep

- Get in bed
- Count sheep
Two sample slides in a Beamer presentation.
Within R Markdown documents that generate PDF output, you can use raw LaTeX and even define LaTeX macros. See Pandoc’s manual for details.
Subsection 4.3.1 Themes
---
output:
  beamer_presentation:
    theme: "AnnArbor"
    colortheme: "dolphin"
    fonttheme: "structurebold"
---
Figure 4.4 shows two sample slides of the
AnnArbor theme in the above example. You can find a list of possible themes and color themes at https://hartwork.org/beamer-theme-matrix/.
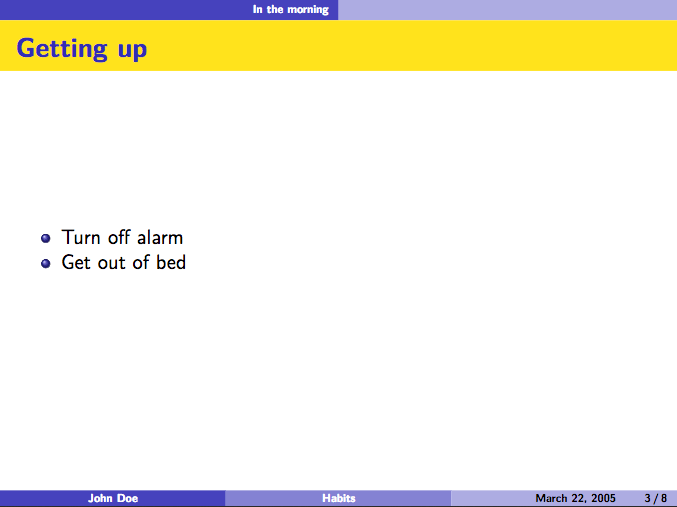
Two sample slides with the AnnArbor theme in Beamer.
Subsection 4.3.2 Slide level
The
slide_level option defines the heading level that defines individual slides. By default, this is the highest header level in the hierarchy that is followed immediately by content, and not another header, somewhere in the document. This default can be overridden by specifying an explicit slide_level:
---
output:
  beamer_presentation:
    slide_level: 2
---
Subsection 4.3.3 Other features
Refer to Section 3.1 for the documentation of other features of Beamer presentations, including table of contents (Subsection 3.1.1), figure options (Subsection 3.1.5), appearance and style (Subsection 4.1.3), data frame printing (Subsection 3.1.6), Markdown extensions (Subsubsection 3.1.10.4), header and before/after body inclusions (Subsubsection 3.1.10.2), custom templates (Subsubsection 3.1.10.3), Pandoc arguments (Subsubsection 3.1.10.5), and shared options (Subsection 3.1.11).
Beamer presentations have a few features in common with ioslides presentations in Section 4.1 and PDF documents in Section 3.3. For incremental bullets, see Subsection 4.1.2. For how to keep the intermediate LaTeX output file, see Subsubsection 3.3.7.2.
Section 4.4 PowerPoint presentation
To create a PowerPoint presentation from R Markdown, you specify the
powerpoint_presentation output format in the YAML metadata of your document. Please note that this output format is only available in rmarkdown >= v1.9, and requires at least Pandoc v2.0.5. You can check the versions of your rmarkdown package and Pandoc with packageVersion('rmarkdown') and rmarkdown::pandoc_version() in R, respectively. The RStudio version 1.1.x ships Pandoc 1.19.2.1, which is not sufficient to generate PowerPoint presentations. You need to either install Pandoc 2.x by yourself if you use RStudio 1.1.x, or install a preview version of RStudio (>= 1.2.633), which has bundled Pandoc 2.x.
Below is a quick example (see Figure 4.5 for a sample slide):
---
title: "Habits"
author: John Doe
date: March 22, 2005
output: powerpoint_presentation
---

# In the morning

## Getting up

- Turn off alarm
- Get out of bed

## Breakfast

- Eat eggs
- Drink coffee

# In the evening

## Dinner

- Eat spaghetti
- Drink wine

---

```{r, cars, fig.cap="A scatterplot.", echo=FALSE}
plot(cars)
```

## Going to sleep

- Get in bed
- Count sheep
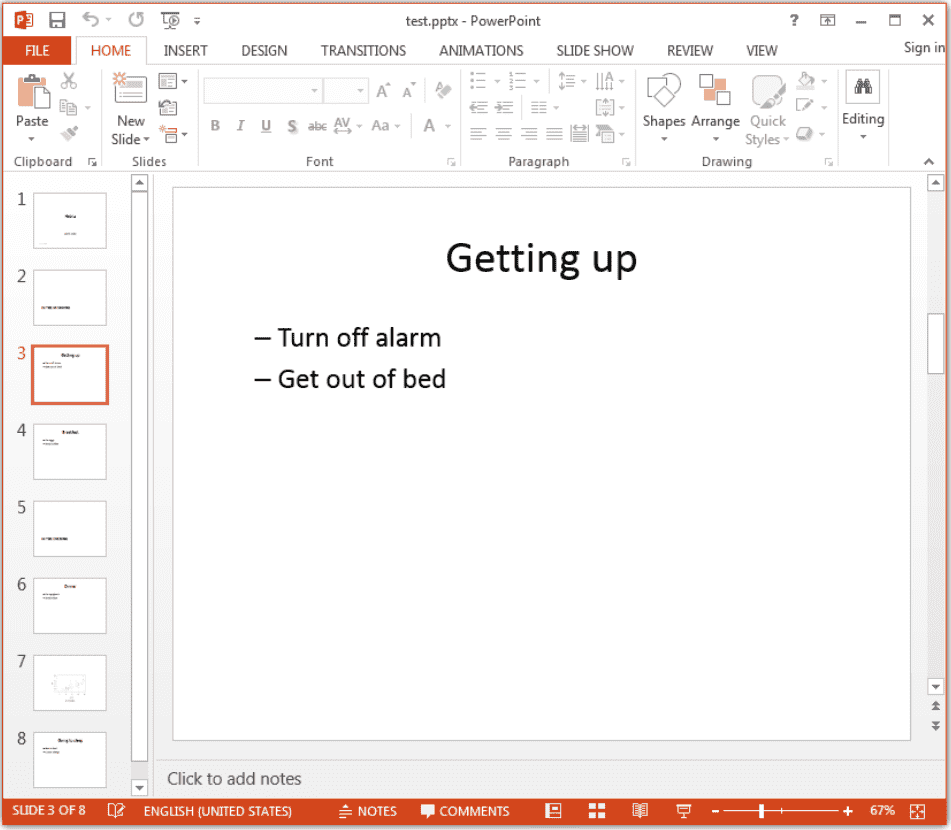
A sample slide in a PowerPoint presentation.
The default slide level (i.e., the heading level that defines individual slides) is determined in the same way as in Beamer slides (Subsection 4.3.2), and you can specify an explicit level via the
slide_level option under powerpoint_presentation. You can also start a new slide without a header using a horizontal rule ---.
You can generate most elements supported by Pandoc’s Markdown (Section 2.5) in PowerPoint output, such as bold/italic text, footnotes, bullets, LaTeX math expressions, images, and tables, etc.
Please note that images and tables will always be placed on new slides. The only elements that can coexist with an image or table on a slide are the slide header and image/table caption. When you have a text paragraph and an image on the same slide, the image will be moved to a new slide automatically. Images will be scaled automatically to fit the slide, and if the automatic size does not work well, you may manually control the image sizes: for static images included via the Markdown syntax
![](), you may use the width and/or height attributes in a pair of curly braces after the image, e.g., {width=40%}; for images generated dynamically from R code chunks, you can use the chunk options fig.width and fig.height to control the sizes.
Please read the Pandoc manual for more information on slide shows (
https://pandoc.org/MANUAL.html#slide-shows), such as the multi-column layout:
:::::: {.columns}
::: {.column}
Content of the left column.
:::

::: {.column}
Content of the right column.
:::
:::::
Subsection 4.4.1 Custom templates
Like Word documents (Section 3.4), you can customize the appearance of PowerPoint presentations by passing a custom reference document via the
reference_doc option, e.g.,
---
title: "Habits"
output:
  powerpoint_presentation:
    reference_doc: my-styles.pptx
---
Note that the
reference_doc option requires a version of rmarkdown higher than 1.9:
if (packageVersion('rmarkdown') <= '1.9') {
  install.packages('rmarkdown')  # update rmarkdown from CRAN
}
Basically any template included in a recent version of Microsoft PowerPoint should work. You can create a new
*.pptx file from the PowerPoint menu File -> New with your desired template, save the new file, and use it as the reference document (template) through the reference_doc option. Pandoc will read the styles in the template and apply them to the PowerPoint presentation to be created from R Markdown.
Subsection 4.4.2 Other features
Refer to Section 3.1 for the documentation of other features of PowerPoint presentations, including table of contents (Subsection 3.1.1), figure options (Subsection 3.1.5), data frame printing (Subsection 3.1.6), keeping Markdown (Subsubsection 3.1.10.1), Markdown extensions (Subsubsection 3.1.10.4), Pandoc arguments (Subsubsection 3.1.10.5), shared options (Subsection 3.1.11), and incremental slides since Pandoc 2.15 (Subsection 4.1.2.
