Chapter 8 reveal.js Presentations
The revealjs package [26] provides an output format
revealjs::revealjs_presentation that can be used to create yet another style of HTML5 slides based on the JavaScript library reveal.js. You may install the R package from CRAN:
install.packages("revealjs")
To create a reveal.js presentation from R Markdown, you specify the
revealjs_presentation output format in the YAML metadata of your document. You can create a slide show broken up into sections by using the # and ## heading tags; you can also create a new slide without a header using a horizontal rule (---). For example, here is a simple slide show:
---
title: "Habits"
author: John Doe
date: March 22, 2005
output: revealjs::revealjs_presentation
---

# In the morning

## Getting up

- Turn off alarm
- Get out of bed

## Breakfast

- Eat eggs
- Drink coffee

# In the evening

## Dinner

- Eat spaghetti
- Drink wine

## Going to sleep

- Get in bed
- Count sheep
See Figure 8.1 for two sample slides.
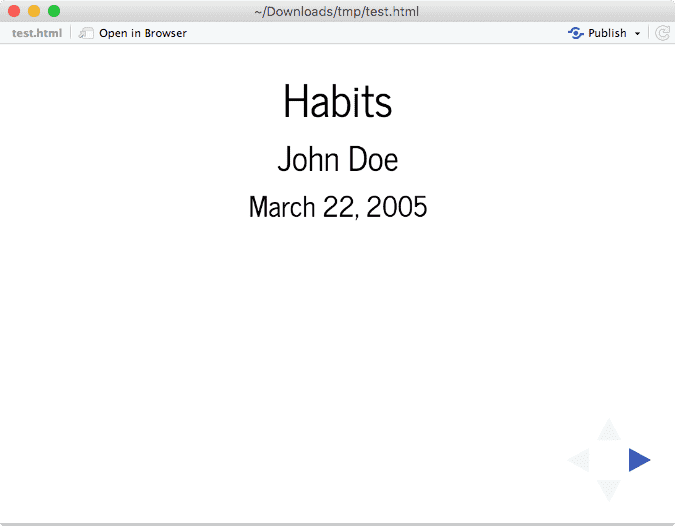
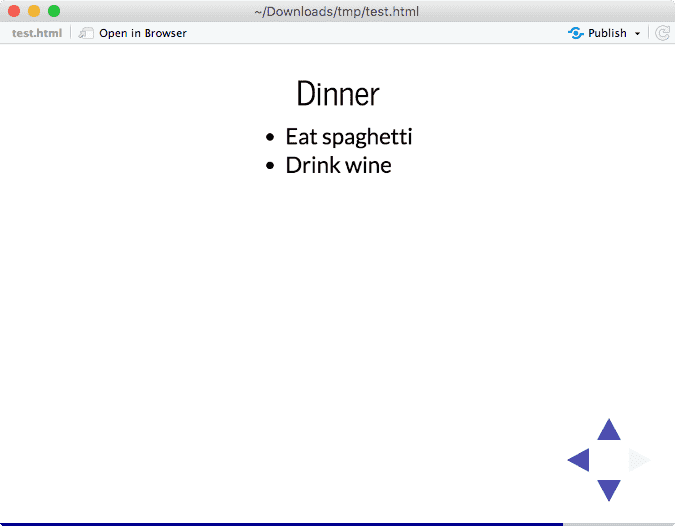
Two sample slides created from the revealjs package.
Section 8.1 Display modes
The following single character keyboard shortcuts enable alternate display modes:
-
'f': enable fullscreen mode. -
'o': enable overview mode.
Pressing
Esc exits all of these modes.
Section 8.2 Appearance and style
There are several options that control the appearance of reveal.js presentations:
-
themespecifies the theme to use for the presentation (available themes are"default","simple","sky","beige","serif","solarized","blood","moon","night","black","league", and"white"). -
highlightspecifies the syntax highlighting style. Supported styles include"default","tango","pygments","kate","monochrome","espresso","zenburn", and"haddock". Pass null to prevent syntax highlighting. -
smartindicates whether to produce typographically correct output, converting straight quotes to curly quotes,---to em-dashes,--to en-dashes, and...to ellipses. Note thatsmartis enabled by default.
For example:
---
output:
  revealjs::revealjs_presentation:
    theme: sky
    highlight: pygments
    center: true
---
Subsection 8.2.1 Smaller text
If you need smaller text for certain paragraphs, you can enclose text in the
<small> tag. For example:
<small>This sentence will appear smaller.</small>
Section 8.3 Slide transitions
You can use the
transition and background_transition options to specify the global default slide transition style:
-
transitionspecifies the visual effect when moving between slides. Available transitions are"default","fade","slide","convex","concave","zoom"or"none". -
background_transitionspecifies the background transition effect when moving between full page slides. Available transitions are"default","fade","slide","convex","concave","zoom"or"none".
For example:
---
output:
  revealjs::revealjs_presentation:
    transition: fade
---
You can override the global transition for a specific slide by using the
data-transition attribute. For example:
## Use a zoom transition {data-transition="zoom"}

## Use a faster speed {data-transition-speed="fast"}
You can also use different in and out transitions for the same slide. For example:
## Fade in, Slide out {data-transition="slide-in fade-out"}

## Slide in, Fade out {data-transition="fade-in slide-out"}
Section 8.4 Slide backgrounds
Slides are contained within a limited portion of the screen by default to allow them to fit any display and scale uniformly. You can apply full page backgrounds outside of the slide area by adding a
data-background attribute to your slide header element. Four different types of backgrounds are supported: color, image, video, and iframe. Below are a few examples.
## CSS color background {data-background=#ff0000}

## Full size image background {data-background="background.jpeg"}

## Video background {data-background-video="background.mp4"}

## A background page {data-background-iframe="https://example.com"}
Backgrounds transition using a
fade animation by default. This can be changed to a linear sliding transition by specifying the background-transition: slide. Alternatively, you can set data-background-transition on any slide with a background to override that specific transition.
Section 8.5 2-D presentations
You can use the
slide_level option to specify which level of heading will be used to denote individual slides. If slide_level is 2 (the default), a two-dimensional layout will be produced, with level-1 headers building horizontally and level-2 headers building vertically. For example:
# Horizontal Slide 1

## Vertical Slide 1

## Vertical Slide 2

# Horizontal Slide 2
With this layout, horizontal navigation will proceed directly from "Horizontal Slide 1" to "Horizontal Slide 2", with vertical navigation to "Vertical Slide 1" (and then "Vertical Slide 2", etc.) presented as an option on "Horizontal Slide 1". See Figure 8.1 for an example (note the arrows at the bottom right on the slides).
Section 8.6 Custom CSS
You can add your own CSS to a reveal.js presentation using the
css option:
---
output:
  revealjs::revealjs_presentation:
    css: styles.css
---
If you want to override the appearance of particular HTML element document-wide, you need to qualify it with the
.reveal section preface in your CSS. For example, to change the default text color in paragraphs to blue, you would use:
.reveal section p {
  color: blue;
}
Subsection 8.6.1 Slide IDs and classes
You can also target specific slides or classes of slides with custom CSS by adding IDs or classes to the slides headers within your document. For example, the following slide header
## Next Steps {#nextsteps .emphasized}
would enable you to apply CSS to all of its content using either of the following CSS selectors:
#nextsteps {
   color: blue;
}

.emphasized {
   font-size: 1.2em;
}
Subsection 8.6.2 Styling text spans
You can apply classes defined in your CSS file to spans of text by using a
span tag. For example:
<span class="emphasized">Pay attention to this!</span>
Section 8.7 reveal.js options
Reveal.js has many additional options to configure its behavior. You can specify any of these options using
reveal_options. For example:
---
title: "Habits"
output:
  revealjs::revealjs_presentation:
    self_contained: false
    reveal_options:
      slideNumber: true
      previewLinks: true
---
You can find documentation on the various available reveal.js options here: reveal.js configuration.
Section 8.8 reveal.js plugins
You can enable various reveal.js plugins using the
reveal_plugins option. Currently supported plugins are listed in Table 8.2.
| Plugin | Description |
|---|---|
| notes | Present per-slide notes in a separate browser window. |
| zoom | Zoom in and out of selected content with Alt+Click. |
| search | Find a text string anywhere in the slides and show the next occurrence to the user. |
| chalkboard | Include handwritten notes within a presentation. |
Note that the use of plugins requires that the
self_contained option be set to false. For example, this presentation includes both the "notes" and "search" plugins:
---
title: "Habits"
output:
  revealjs::revealjs_presentation:
    self_contained: false
    reveal_plugins: ["notes", "search"]
---
---
title: "Habits"
output:
  revealjs::revealjs_presentation:
    self_contained: false
    reveal_plugins: ["chalkboard"]
    reveal_options:
      chalkboard:
        theme: whiteboard
        toggleNotesButton: false
---
Section 8.9 Other features
Refer to Section 3.1 for documentation of other features of reveal.js presentations, including figure options (Subsection 3.1.5), MathJax equations (Subsection 3.1.8), keeping Markdown (Subsubsection 3.1.10.1), document dependencies (Subsection 3.1.9), header and before/after body inclusions (Subsubsection 3.1.10.2), custom templates (Subsubsection 3.1.10.3), Pandoc arguments (Subsubsection 3.1.10.5), and shaed options (Subsection 3.1.11). Also see Subsection 4.1.2 for incremental bullets.
